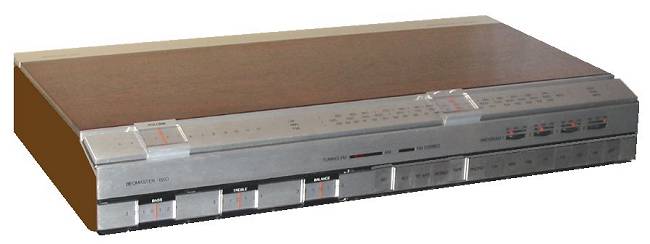
The Beocenter 4600 is a very impressive object,

but it’s also HUGE and when I finally give up on the struggle to keep mine working it seemed to get even larger; it became a giant silent monolith. My apartment just wasn’t big enough for the both of us, one of us had to go. Fortunately for me I’ve got the opposable thumbs.

This is the 4600 after disassembly (the record player section is out of shot). The black base is made from Bakelite, the front panel and slider are aluminium and the side pieces are wood veneer over aluminium. The tape player is built as a separate sub-unit, it even has its own power switch. I decided to rebuild the machine as an MP3 player (the saga of the B&O mod began here). I wanted the MP3 player to match my Beomaster 1500 amp; I started by cutting the B&O’s base down to a more reasonable size.

This was done with a standard hand saw (Bakelite cuts easily but tends to melt so you have to cut slowly). I took a few inches off the back edge and removed a strip from the centre of the base so that I could re-use the existing front and end mouldings. The two remaining pieces come together like this.

They’re held in place by the original pressed steel frame (cut to match). Here you can also see the MP3 player’s hard drive (actually I’m planning on using a different drive in the final assembly, a Samsung Spin-Point 80GB, they’re supposed to be supper quiet; this HD’s a stand-in). The HD is screwed to the B&O’s metal side panel on the right and is also supported on the left by a bent aluminium strut. The drive is isolated from the frame by rubber grommets, this should help reduce noise from the drive mechanism.

The Beocenter’s front panel was cut down to match the new case width. A slit at the left end of the panel will give access to a slot loading CD drive. I taped up the edges of the slit to protect them while I filed off some of the aluminium frame to make way for the CD.

The MP3 player is built around a G3 PowerBook (the Wallstreet model). With the Beocenter 4600 downsized to match the Beomaster 1500 there isn’t much room inside for the PowerBook. I had to hack away at the PowerBooks case until it fitted its new home; even with the base cut away I needed to angle the motherboard up at the front in order to get it to fit. The PowerBook has a small fan that draws air across the processor. I decided to remove this to reduce noise; the extra space around the processor’s heat sink should provide sufficient air flow. I also reinstalled the B&O’s original cooling fins to help keep the case temperature down.

The fins were heavily re-worked to fit the new case dimensions (above: the obligatory Dremel mod shot). The ports on the PowerBook were made to fit flush with the back of the new case, giving access to ethernet, ADB, SCSI, serial, VGA, s-video, and the power connector (this model is pre-USB and FireWire). The audio in and out ports are being re-routed to the original B&O 5-pin DIN socket on the back of the case.

The above image shows the back ports, cooling fins and wooden side panel; there’s still some cleaning up to do here. The PowerBooks 12″ screen will be installed in the top of the case facing up; window mounted behind 3mm of Perspex. The finished unit and software interface will look something like this.

You can see from this image that I botched the join between the Perspex top and the edge strips. I forgot to make the edge strips totally smooth before gluing them to the clear top, as a result the glue line looks terrible; I’ll have to get another piece of Perspex. Next time I’ll run the window mask right to the edge of the Perspex, the supports can then attach to the back of the mask; no visible glue line, everything seamless.
A brushed aluminium strip will run along the back edge of the case, matching the Beomaster 1500 design. I have yet to source this strip, unfortunately the off-cut from the slide rail (shown above) isn’t quite long enough. Also on the to-do list: integrate the two sliders into the program control system, install power and other control buttons on the front panel, connect a slot loading CD drive to the PowerBooks internal IDE bus (if that’s possible), find a 12V power source for the hard drive (hopefully from the PowerBooks own internal system), add graphic detail (text, etc.) to the control interface, and finish writing the software control program. Pretty simple really, should only take me another couple of years!
‘Biting off more than I can chew’ would be an understatement for this project, I get the feeling it’s never going to end. Of course, as far as the post-grad research is concerned the work is in the process, not the outcome; the work (the thing that is made) is the work (the mental and physical activity). How the research contextualises and gives access to this work is the critical issue for me at the moment. I think the blog plays a major role in this but it walks a double line, it documents the process while also being a part of that process. Does the required exegesis sit as a meta-narrative on top of this one? I’m only now beginning to realise just how much work I’ve got to do.
2 Comments